Sculpture Journal 6/26 #2

Uprising all welded together

Uprising all welded together

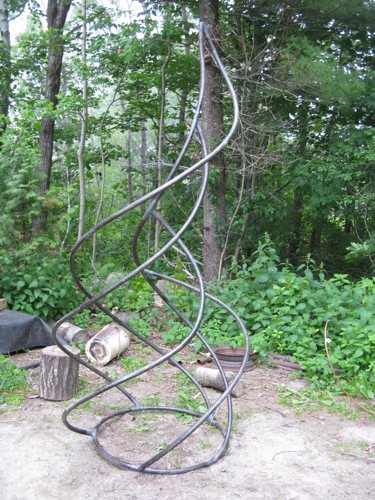
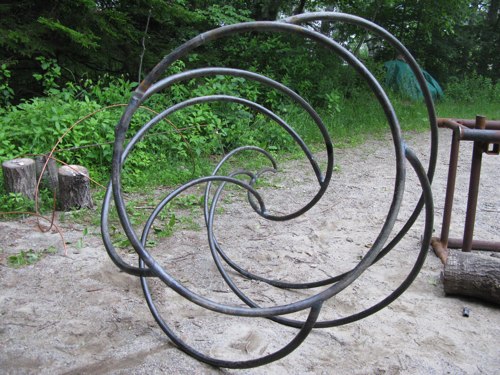
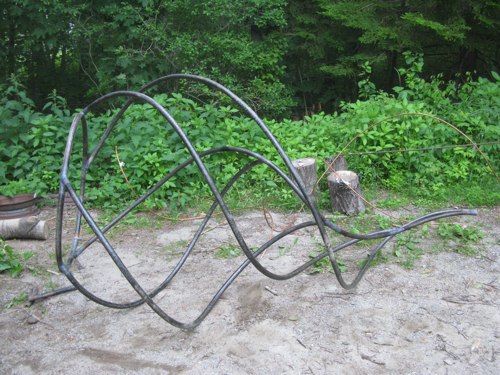
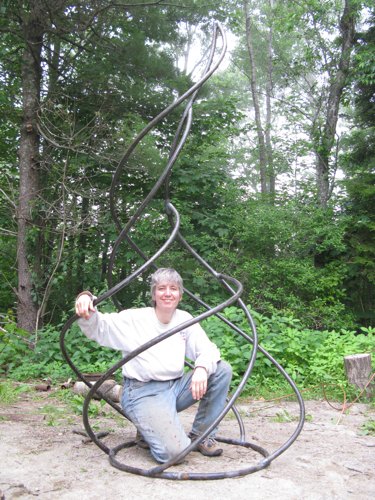
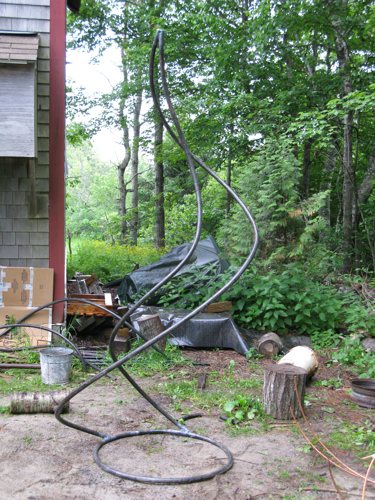
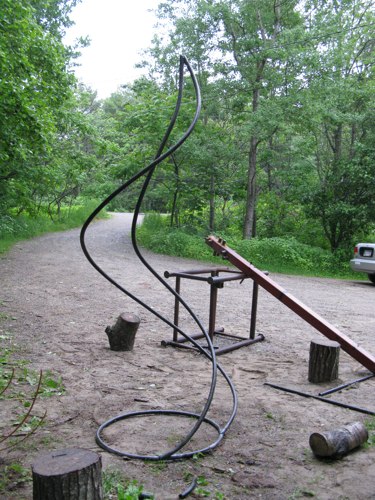
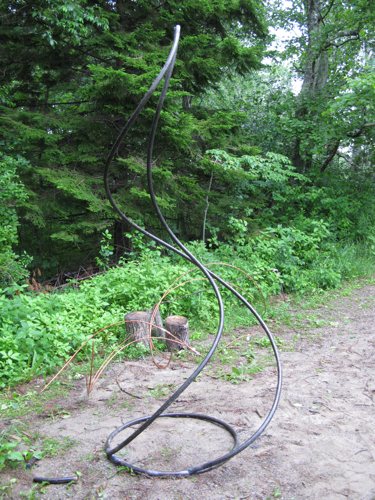
I finally could fine tune the last curve of Uprising.  I cut a few more inches off, ground the 2 ends to meet the other tubes and tacked it together.  I had enough time to start with the final welding on all the connections, praying  that the gas would last.  Voila, during the last touch up of the last weld I felt the flame getting cooler and cooler- it was perfect timing.

I have a pretty cool sculpture sitting in my driveway:)

from below

from below

side laying

side laying

enclosed

enclosed

Sculpture Journal 6/26

Flowering morning glory's

Flowering morning glory's

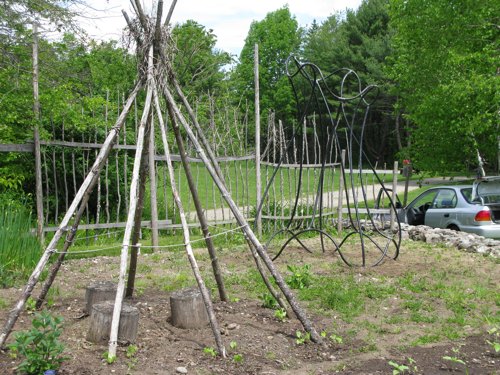
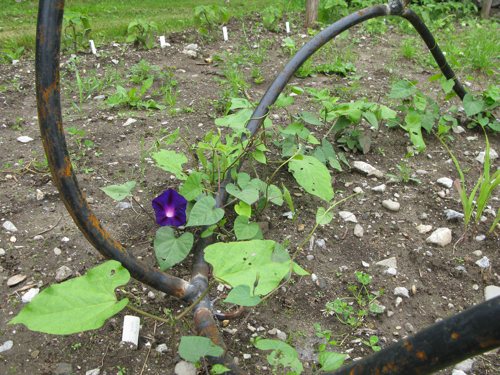
I stopped at Merryspring today to see the sight for the next sculpture and saw that “Flowering” already has a few morning glory’s in bloom.   The sculpture is also starting to rust in a few spots. I can’t wait until it is all nicely covered in brown patina.

Sculpture Journal 6/25

next one is tacked in place

next one is tacked in place

and one is held in place by duct tape

and one is held in place by duct tape

Finally a dry day!  The sun actually came out.  So I canceled all my evening plans and worked till after dark with the light of a spot light.

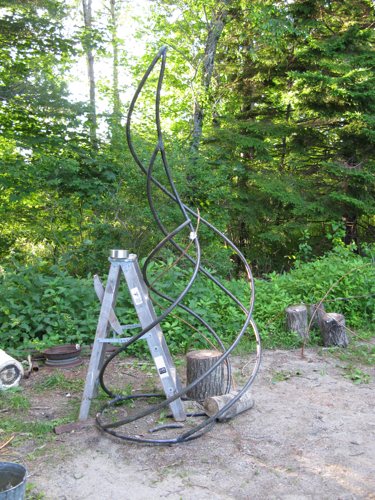
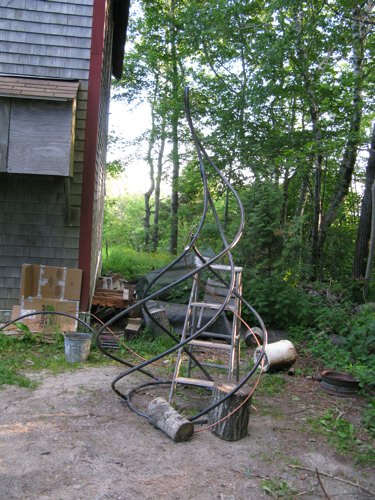
I fitted the longest of the  curves in place and didn’t have to shorten  it.  I only had to grind the ends to fit around the round profile of the matching pipe.  I propped it up with tree stumps and the step ladder and was able to tack it in place.  The next one went into place pretty smoothly as well.  The last and shortest one was the hardest.   There were a few times I wanted to tighten a curve, but the angle of my pipe was wrong, so I ended up straightening the pipe out to where I needed to make an adjustment and then tighten it again.  That happened a few times.  In addition I had to handle a 13.5’ long pipe.  I wanted to get it fit just right and then cut it to length, rather than give myself some extra, cut it and lighten my load.  Well I finally cut it and now I just need to grind nice transitions in the ends.

I hope I will get everything fitted tomorrow and completely welded over the weekend.  It is also time to think about how I want to mount it.  I think I’ll check the ground at Merryspring to see how deep the soil is in that spot and go from there.

Nice to see how it is coming together though!

Sculpture Journal 6/23

Uprising

Uprising

Did I mention the rain?  Well, Maura was a sport and came to help me in a fine drizzle rain-thank you!!!  Otherwise I probably would not have gone out.

first 2 curves are bend

first 2 curves are bend

It worked out great.  She helped me bend the last 2 feet of the longest curve and then tacking it onto the circle, as well as the next curve.  Once they were tacked at the bottom I tipped everything over and ground an angle on both pieces to join them in the tip.  I first contemplated cutting angles with the cutting torch, but the cut would have required a lot of grinding anyway, so I opted for only the grinding.  I ended up having to do a lot of filling, but it is tight.  While I was in welding mode, I completed the bottom circle.  The curves flow great together and the piece stands very securely.  I’ll see if I can get the other 3 curves fine turned and attached  by myself.  Although help is always appreciated.

....and welded together at the top and to the circle

....and welded together at the top and to the circle

Sculpture Journal 6/18

I had a little stretch of time and dry weather.  I was able to form the pipe a bit higher and then just couldn’t handle the pipe myself any more.  It got highly frustrating.  I could have finished this pipe in 10 min if I had someone holding it in the right place.  I could only prop it up so much on the step ladder……  GGGRRRRHHHHH.    Hard to accept limitations.  Also difficult to arrange help when I only need a hand 10 min. at a time in each step.  I guess my plan is to bend all the pipes as fare as I can and get someone to help me on all of them for a chunk of time.   I hear it is supposed to rain a lot again?   May be I’ll work on the smaller pieces that I can do in the shop.

Sculpture Journal 6/16

Well, I am very happy and my arms are pretty tired!

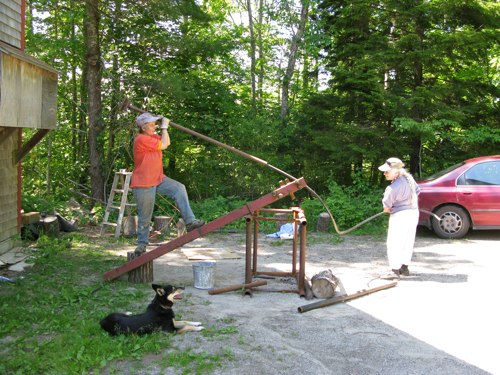
The weather was perfect and I got started to bend steel pipe for “Uprising”.  The first one was the bottom circle the sculpture will be resting on.  My pipe was 7.5’ long and I had it in my mind that the circle should be 2.5’ in diameter.  Half way through I did the math and decided to make the circle smaller.  But the rounder I got the more trouble I had to keep the circle really flat and I wasn’t sure how I would be joining the 2 ends.  I can’t just let the ends overlap, cut straight  and tweak in front of each other like I work in gold.  So, I decided to make the circle bigger again and join another piece to fill the gap.  I figured that might be easier.  I also managed to flatten the circle- it looks good.  I even had a left over piece that fits into the gap very well.


bending the first spiraling piece with Judith's help

bending the first spiraling piece with Judith's help


After a little lunch break Judith came and helped me with the first spiraling piece.   The beginning was a little tricky figuring out how to support the pipe to make it go in the right direction, but it actually went pretty smooth.  We got it just done when she had to go.  I am very grateful for the help.  I started with the next piece myself.  It is the 13’ long spiral.  The pipe is heavier and I had to move my bending rig- I was hitting the building behind me.  But I think I have the movement of the pipe figured out.  This piece is half way done- time for a rest.

Sculpture Journal 6/15

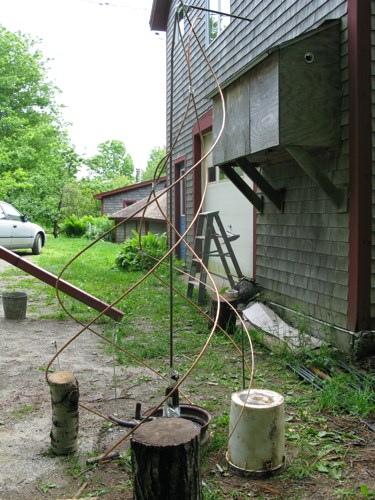
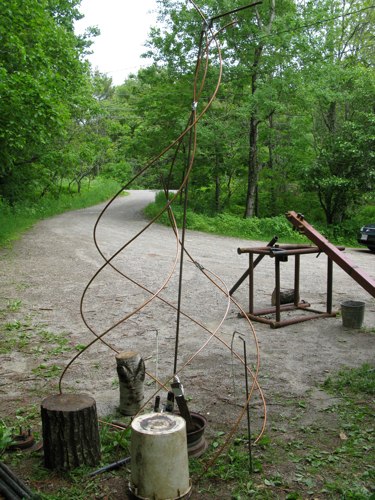
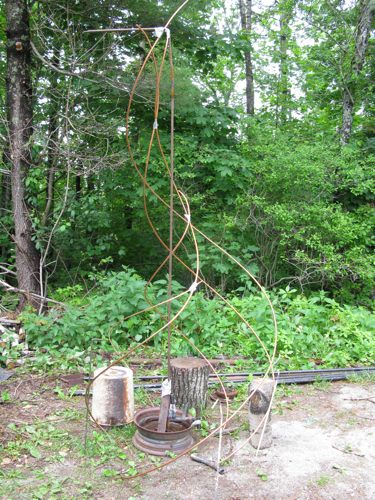
It is hard to believe, but it is raining again…..and the bugs are out as well…..  Fortunately it eased off a bit in the middle of the day and I could go outside and start bending the full size model for “Uprising” in copper tube.  Overall it looks pretty good.  Now I am seeing a few little adjustments I will have to make, but actually if I get it bend this well in steel pipe I’ll be very happy.  

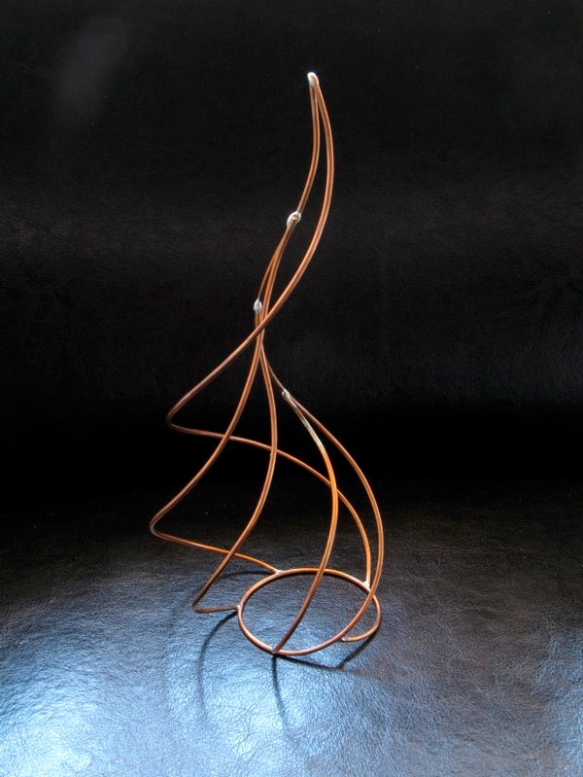
Uprising wire model

Uprising wire model


Uprising 8' tall

Uprising 8' tall

full size model out of copper tubing

full size model out of copper tubing

held together by duct tape

held together by duct tape

Sculpture Journal 6/11


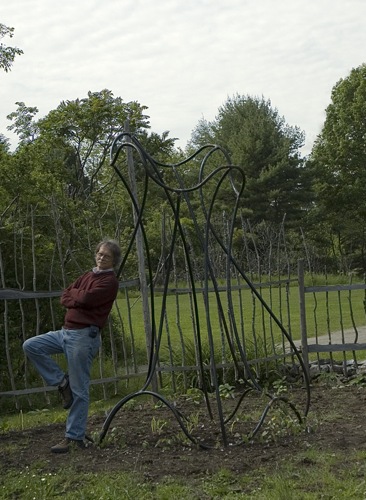
Tom and the sculpture

Tom and the sculpture

The plants have grown allready a few inches.


I do have the pipes for the next sculpture sitting in the driveway and I started to bend the life size model.  But it rained a few days and  gave me a break, which I did need.  I have started with a smaller 3 foot piece out of copper pipe.  It is nice to do something smaller for a change.  

Sculpture Journal 6/5

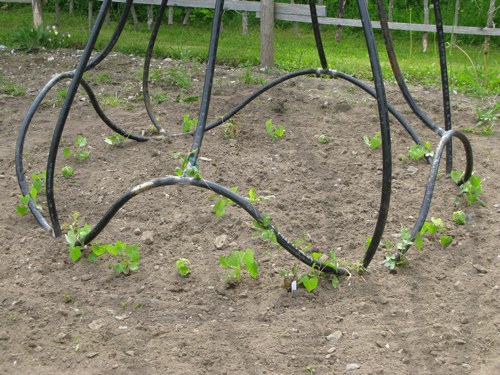
The climbing plants have been planted.  They look very tender and small.  But in a few weeks I am sure they will be well established and growing wildly up the vertical beams of the sculpture.  

I am very happy.

climbing plants are planted around the sculpture

climbing plants are planted around the sculpture

Sculpture Journal 6/4

Hurray!!!!!

The sculpture is delivered and installed!  It looks great in this lovely garden spot- in the children’s garden of Merryspring. 
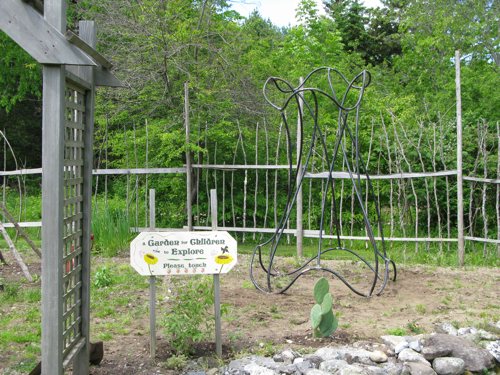
 

Flowering is installed in Children's Garden at Merryspring

Flowering is installed in Children's Garden at Merryspring

My work is done and everyone who has helped me with this piece.  But this is only part of it, now Gail will plant morning glories and painted lady scarlet runner beans.  She said someone gave her another climbing plant she might try out.  Mother nature will do the rest and collaborate with “Flowering”.  It will look different every week and throughout the season.  Sprouting, unfolding, blooming, fruiting, seeding, wilting and completely dying off.  I can’t wait to witness the journey this sculpture will take.  And eventually the steel itself will rust.  I didn’t apply any finish, because the natural patina, the rust will be a great color.  I don’t quite know how long it will take, but that is part of the learning process for me as well.  
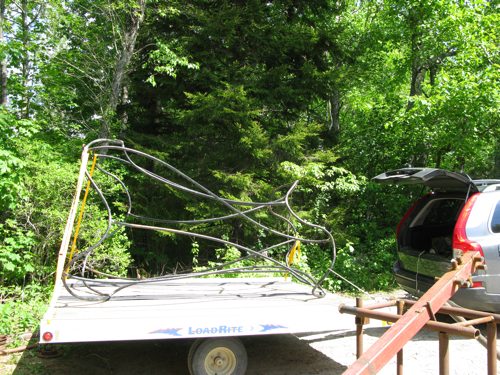
 

off she goes
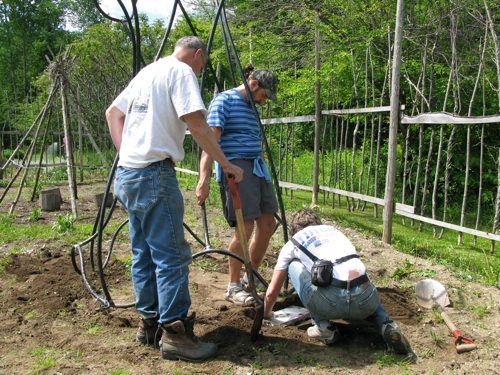
off she goes


setting on cinder blocks

setting on cinder blocks

Moving of the piece out of my driveway went smooth.  It went easily onto the trailer that Mark had borrowed.  On location we set it on cinderblocks that were set into the ground.  We tried to use the screw anchors I had bought, but there were stones and it wouldn’t work.  Terry who came to help for the installation went to get steel rods that we hot bend into an L shape to hammer into the ground.  But here again after 6” we hit rock.  It must be all ledge.  Well, the sculpture seems heavy enough and will not blow over.  We decided to leave it.   Eventually the vines will actually hold it in place.  
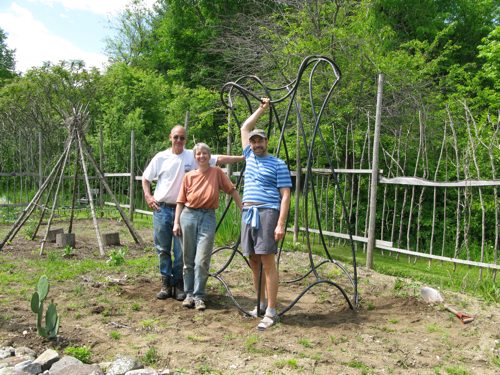
 

Mark and Terry were great help!!!! Thank you!

Mark and Terry were great help!!!! Thank you!

What a great process it all has been!  I learned so much;  bending and welding steel pipe, figuring out the tools to use and making some of them, asking for advice, and inviting people to help. (learning how to do a blog as well) I could not have done it without help.  Mikey Kelley was the first one to help me bend the bottom wave.  Then Tom Prescott and I did a lot of the curves together.  I finished the top wave with Terry  Bradshaw‘s help.  He also helped to tack and weld pieces together and I got to show him how to cut steel with the torch( I think he might get hooked on this big work:)  I am glad he learned something in the process for all his time.  Mark Wallack was a great help tacking verticals into place and transporting and installing the piece.  Meg Barclay the director of Merryspring came to help with the installation as well and to take photos.  All the help I got is listed in detail under the donation and sponsor category.


Will I be able to take a break for a few days?  At least until the steel pipe arrives I ordered for the next piece?  Well, …. may be I’ll just bent the live size model for “Uprising”  the next piece…..

Stay tuned and thank you for your interest.
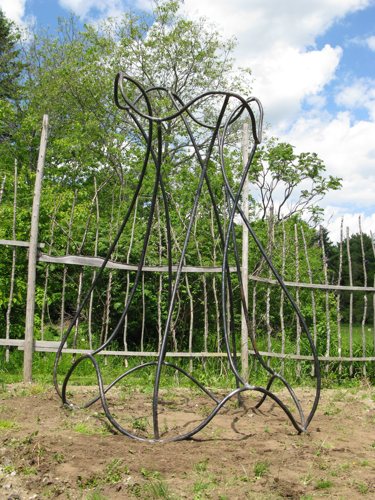
 

final destination
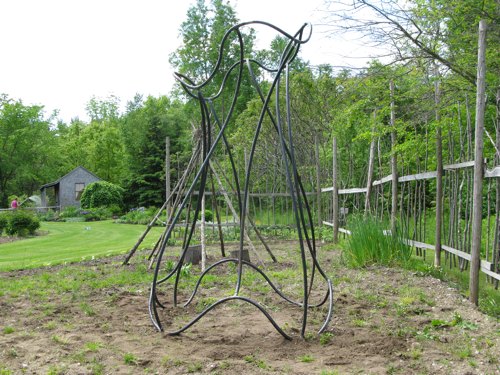
final destination

side view

side view

with TP

with TP